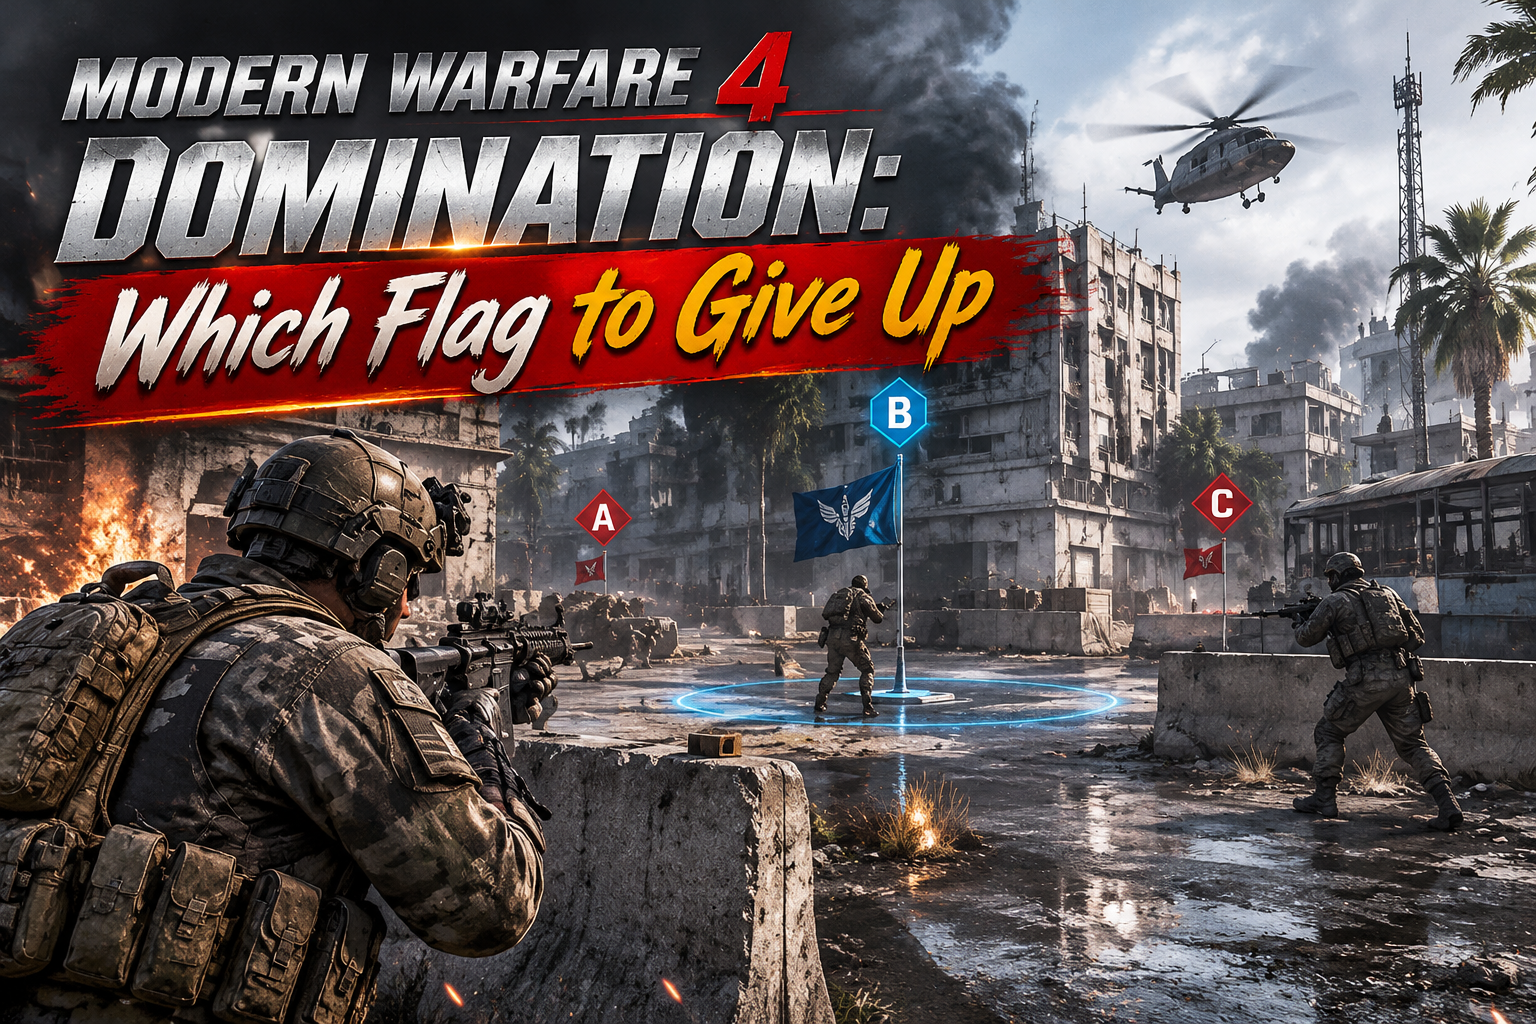
Modern Warfare 4 Domination: Which Flag to Give Up
In Modern Warfare 4 Domination, capturing every flag is not always the smartest way to win. Trying to control all three objectives can stretch your team across the map, leaving important positions exposed. In most situations, the better approach is to hold your home flag and B while allowing the enemy to keep their original home flag. Knowing when to follow this setup and when to change it is essential for controlling the match.
1. The Basic Domination Strategy: Hold Two, Give Up One
Domination has three objectives: A, B, and C. Teams earn points by controlling flags, and the first team to reach the 200-point score limit wins. Since holding more objectives increases your scoring advantage, controlling two flags is usually enough to maintain pressure without spreading your players too thin.
The standard setup is straightforward:
- Home flag: Capture and defend the objective closest to your team’s starting side.
- B flag: Make this your main priority because it is usually the most contested objective.
- Enemy home flag: Leave it under enemy control unless there is a clear tactical reason to capture it.
This creates a manageable defensive shape. Your team can concentrate on B and protect the routes leading toward your home objective instead of constantly rotating between three separate positions.
Which Flag Should You Give Up?
| Starting Side | Main Objectives to Hold | Objective to Leave |
| A side | A and B | C |
| C side | C and B | A |
This is the usual two-flag setup, not an absolute rule for every map. The location of cover, sightlines, capture routes, and enemy pressure can change which objective is easiest to defend. If your original home flag becomes difficult to hold, reassess the situation instead of repeatedly losing players trying to protect it.
2. Why B Is Usually More Important Than the Third Flag
B is often the center of the match because both teams have routes into the objective. Holding it gives your team a second scoring position and forces the enemy to commit players if they want to take control.
However, capturing B does not mean everyone should stand inside the objective. A stronger setup uses different positions to watch the approaches and prevent enemies from entering freely.
A practical B-point defense should include:
- Players covering the main entrances rather than crowding the capture area.
- Teammates watching alternate routes to reduce the chance of a surprise push.
- Enough players nearby to respond when the objective is contested.
- A fallback position in case the enemy gains control of the surrounding area.
If your team loses the nearby fights, avoid repeatedly entering B alone. Regroup, approach from another route, and retake the objective together. A coordinated push is more likely to succeed than a series of isolated attempts.
3. When Is It Worth Taking the Third Flag?
Leaving the enemy home flag alone is a reliable default, but there are situations where capturing it can help. The important question is whether your team can take the extra objective without sacrificing control of B or its own home flag.
Take the third flag when:
- Your team has pushed the enemy away from the objective.
- B is secure and does not need every available player.
- Teammates can coordinate the capture and defend the new position. – The extra pressure can disrupt the enemy’s current setup.
Avoid forcing a third-flag capture when:
- B is already under heavy pressure.
- Your home flag is vulnerable.
- Most teammates are occupied in another part of the map.
- The enemy can easily retake the objective after your team leaves.
A temporary three-flag advantage can be useful, but it should not become a reason to abandon a stronger two-flag setup. If maintaining all three objectives requires constant rotations, your team may be giving the enemy opportunities to recover B.
4. How to React When Your Team Loses a Flag
Losing an objective does not mean the entire match is out of control. The key is to identify which position has been lost and avoid making the situation worse through rushed rotations.
Situation A: The Enemy Takes B
Check whether your team still controls its home flag. If it does, use that position as a stable point to regroup before attempting a retake. Watch the routes into B and coordinate with teammates rather than entering the objective one at a time.
Situation B: Your Home Flag Is Under Attack
Do not assume every player needs to return immediately. Check how many enemies are approaching and whether B is also contested. Send enough players to deal with the threat while keeping the central objective covered.
Situation C: The Enemy Keeps Attacking from One Direction
Repeated attacks along the same route are a sign that your defensive positions need to change. Move players to cover the approach and contest the enemy before they reach the capture area. Defending the route can be more effective than waiting directly on the flag.
5. Common Mistakes That Cost Domination Matches
| Mistake | Why It Hurts Your Team | Better Approach |
| Chasing the third flag constantly | Pulls players away from B and the home objective | Maintain two defensible flags first |
| Everyone crowds B | Leaves alternate entrances exposed | Cover different approaches |
| Retaking B alone | Makes it easier for the enemy to stop each attempt | Regroup for a coordinated push |
| Chasing kills far from objectives | Gives up map control without improving your scoring position | Fight around useful routes and flags |
| Ignoring the home flag | Allows the enemy to attack your defensive setup from behind | Keep track of threats near your starting side |
The biggest mistake is treating every flag as equally important at every moment. Domination rewards objective control, not simply the number of fights won. Your positioning should support the flags your team is trying to hold.
6. A Simple Decision Process for Better Flag Control
When deciding whether to defend, retake, or abandon an objective, use this order of priorities:
- Check your current flags. Identify whether your team has one, two, or three objectives.
- Protect B when possible. If you already control two flags, avoid unnecessary rotations that weaken the central position.Assess your home objective. Do not let an enemy push take away your stable defensive position.
- Consider the third flag only when the situation allows it. Make sure the extra capture will not leave B exposed.
- Regroup after losing control. Coordinate the next push instead of repeatedly challenging the same position alone.
This approach gives your team a clear plan without forcing you to follow the same pattern regardless of the map or match situation.
The Best Rule for Choosing Which Flag to Give Up
For most Modern Warfare 4 Domination matches, hold your home flag and B, and give up the enemy’s original home flag. This setup keeps your team focused on two objectives and reduces the need for risky rotations. Change the plan when the map layout, enemy pressure, or your team’s positioning makes another arrangement more practical.
Players looking for a cheap Bot Lobby MW4 option may want to practice their aim and objective awareness, but the most important habit to develop is knowing when not to chase another flag. Secure the positions your team can realistically defend, communicate when control changes, and prioritize a coordinated retake over scattered attempts. In Domination, disciplined objective control is often more valuable than briefly holding the entire map.